McLaren 1:20 MP4/13
The McLaren Mercedes MP4/13 (WIP)

The 1998 Formula One World Championship featured a tight fight between the Ferrari of Michael Schumacher and McLaren Mercedes of Mika Häkkinen. The two traded blows throughout the season taking all but two of the race wins throughout the season. With the final two races to go, it was still a tight battle. Häkkinen took the win in Luxembourg in the penultimate race and Schumacher took pole in the final tilt in Japan. However, due to engine issues on the starting grid and a further puncture, Schumacher retired from the race leaving Häkkinen to take the race win with ease and with it the title of Formula One Drivers World Champion.
The model I’ve chosen here was probably not the best given my still nascent abilities. It is from a likely defunct manufacturer by the name of Modeler’s and is quite rough in its build quality. The instructions for the 1:20 car are also entirely in Japanese…so that was fun. There were quite a few quality or instruction issues I had to work through slowly and as a result, this is build took forever.

This would be my first resin and white metal model and did I pick a rough one to start on. The fit isn’t the greatest in a lot of places and the overall build quality is lacking. That being said, it is quite simple compared to other in number of parts and complexity.


Most of the big bits went together just fine, but the devil would be in the details.

The front suspension would go together after some negotiation, but this would only be the wishbones and brake ducts. The pushrod pieces and barge boards would also have to be attached in an increasingly tight area of the car in terms of space to work.
Speaking of tight, the tolerances on the barge boards would drive me mad and I’d lose several months not wanting to think about making these work. Essentially, the main upper piece would need to be connected to the lower piece via a thin strip – not a huge deal if the board didn’t need to bend. But, the board needs to curve with the outline of the car. This made it immensely difficult to get a firm connection and the curve just right. On top of that, the boards are connected to the car through the suspension via very small struts.


After bending, priming, re-bending and priming again, I’d eventually get it together in decent shape. Honestly, I gave up hope several times. I’d have to fill the gaps between the upper and lower halves with putty even get it close to flush.

The rear end would go together a bit easier despite it being relatively complex.


The side pod wing things would not be so great with their fit. The body should be continuous over the entire surface, however, the fit between the resin and white metal would not make this easy.


Gaps between the wings and body were around the border, but the wings also did not align vertically with the body.
Filling the gaps with Vallejo plastic putty got part of the way there, but this would not be sufficient as dips would still exist in the larger gaps.
Going back to the tried and true Tamiya Putty would produce better results despite some additional sanding work.


The front and rear wings would go together smoothly, though the rear would have to come back apart for painting due to the particular colors and tight tolerances between pieces.


With everything sanded, fitted, and fingers crossed, I moved into priming and painting.
Priming would go mostly smoothly. Only one and a half cans this time!


Primer on the front wing, however, would reveal a rough crater-like finish to the metal that would need attention. My first attempt to solve this would be to fill the dips with Vallejo Plastic Putty, but this would not hold as the affected area was not deep enough. Sanding with a very coarse grit sand paper would be the only way to smooth the issue.

The wheels would have some gaps to fill, but the Plastic Putty would do the job. It does seem to work best in these sorts of situations.


Same deal with parts of the body. I wouldn’t be able to get it perfect, but every little bit counts.


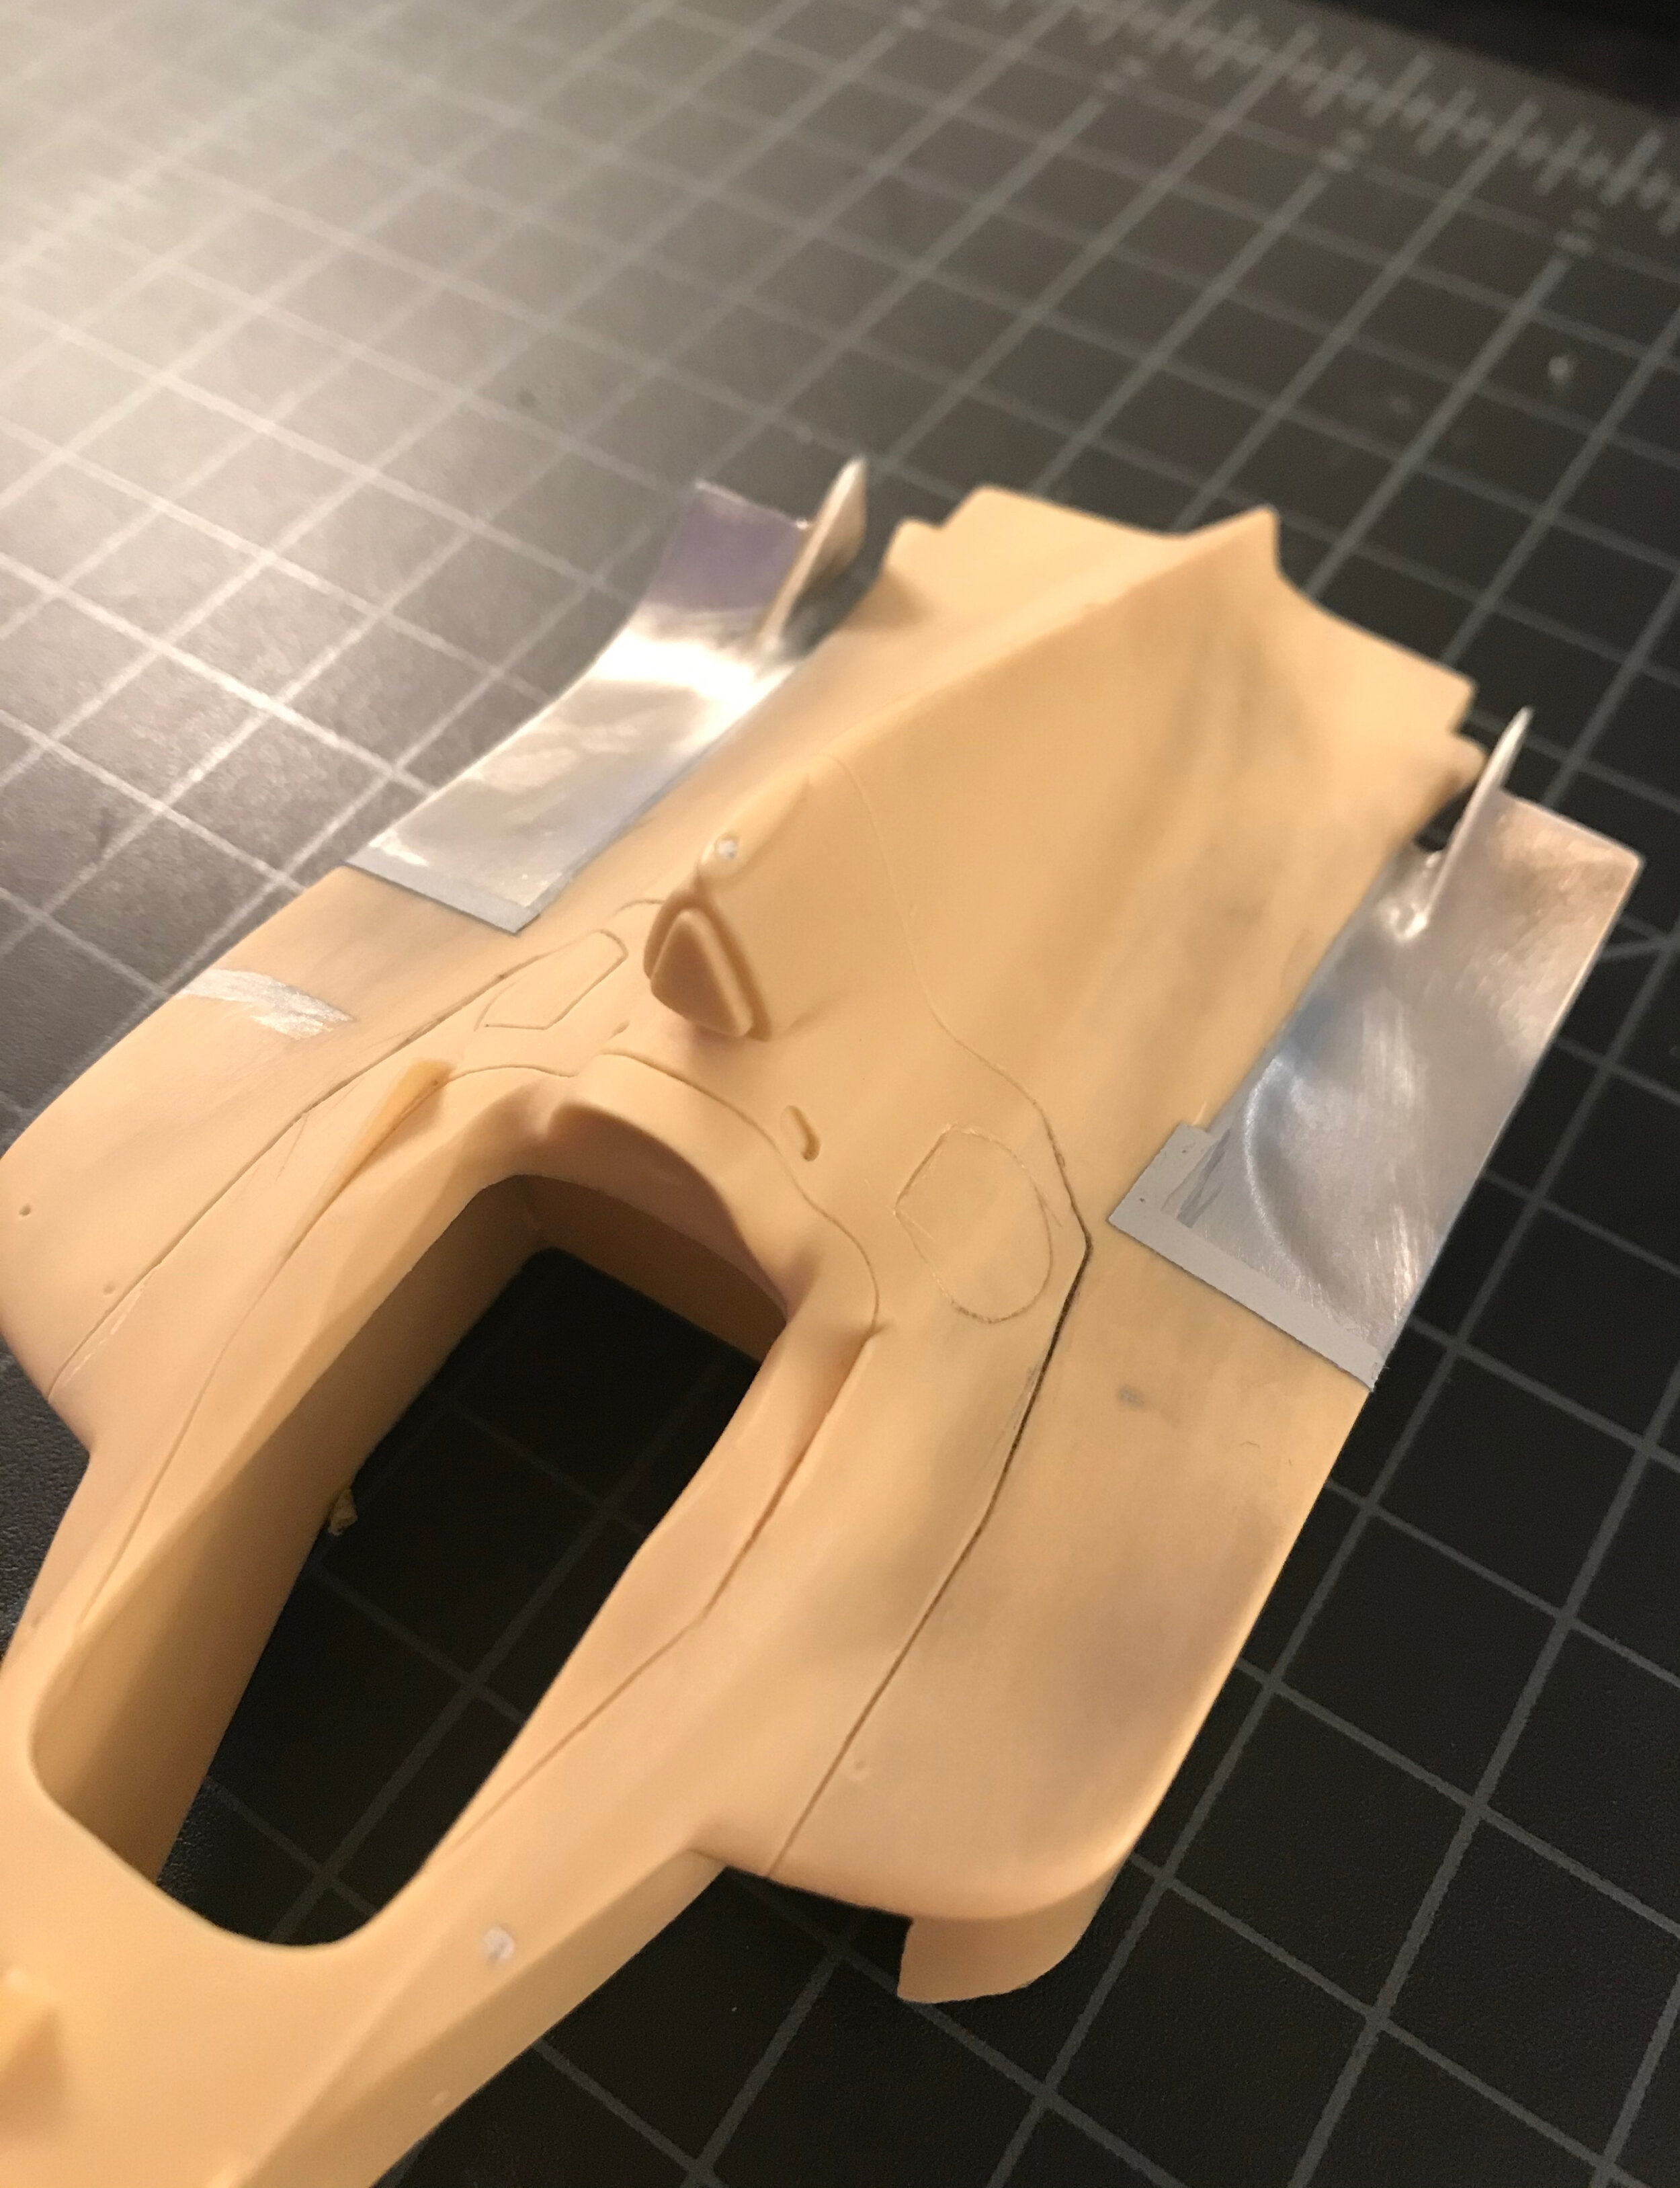
While preparing for paint, another challenge with the instructions appeared. I would have to create my own template for the area that would be painted black. Moreover, I would have to eyeball the positioning as the diagram that was included was incorrect. Getting this right would impact the alignment of the decals and the look of the car entirely.
Finding a good color for the black areas of the body was going to be tough.
To match the decals, most of the blacks available from Tamiya, TS-29 and TS-14, weren’t going to work. Metallic Gray TS-94(right) was moving the right direction with the texture and sparkle, but it was too gray.

Metallic Black, TS-40, would be the right color. The rest of the body would take Gloss Aluminum, TS-17.
And disaster would strike in attempting a test fit after painting the lower wishbone of the front suspension. It would require and entire strip and new primer and paint. Not the worst, though.
